Wednesday, September 14, 2016

Living Room Update


I just realized that I never showed you guys (youns, y'all, yous guys) our finished living room tongue and groove ceiling.  

A little before and after action....

I primed all the ceiling boards before Mr. Windmill installed them. And I was able to get the tongue and groove walls primed over the weekend!


And just for kicks, this is what it looked like when we moved in.


Is it safe to say we've made it to the top of the mountain?  We only have one room left to gut and that's the main floor bathroom.  Ooooh, speaking of....
 

Mr. Windmill installed a pocket door to the bathroom.  Check it!
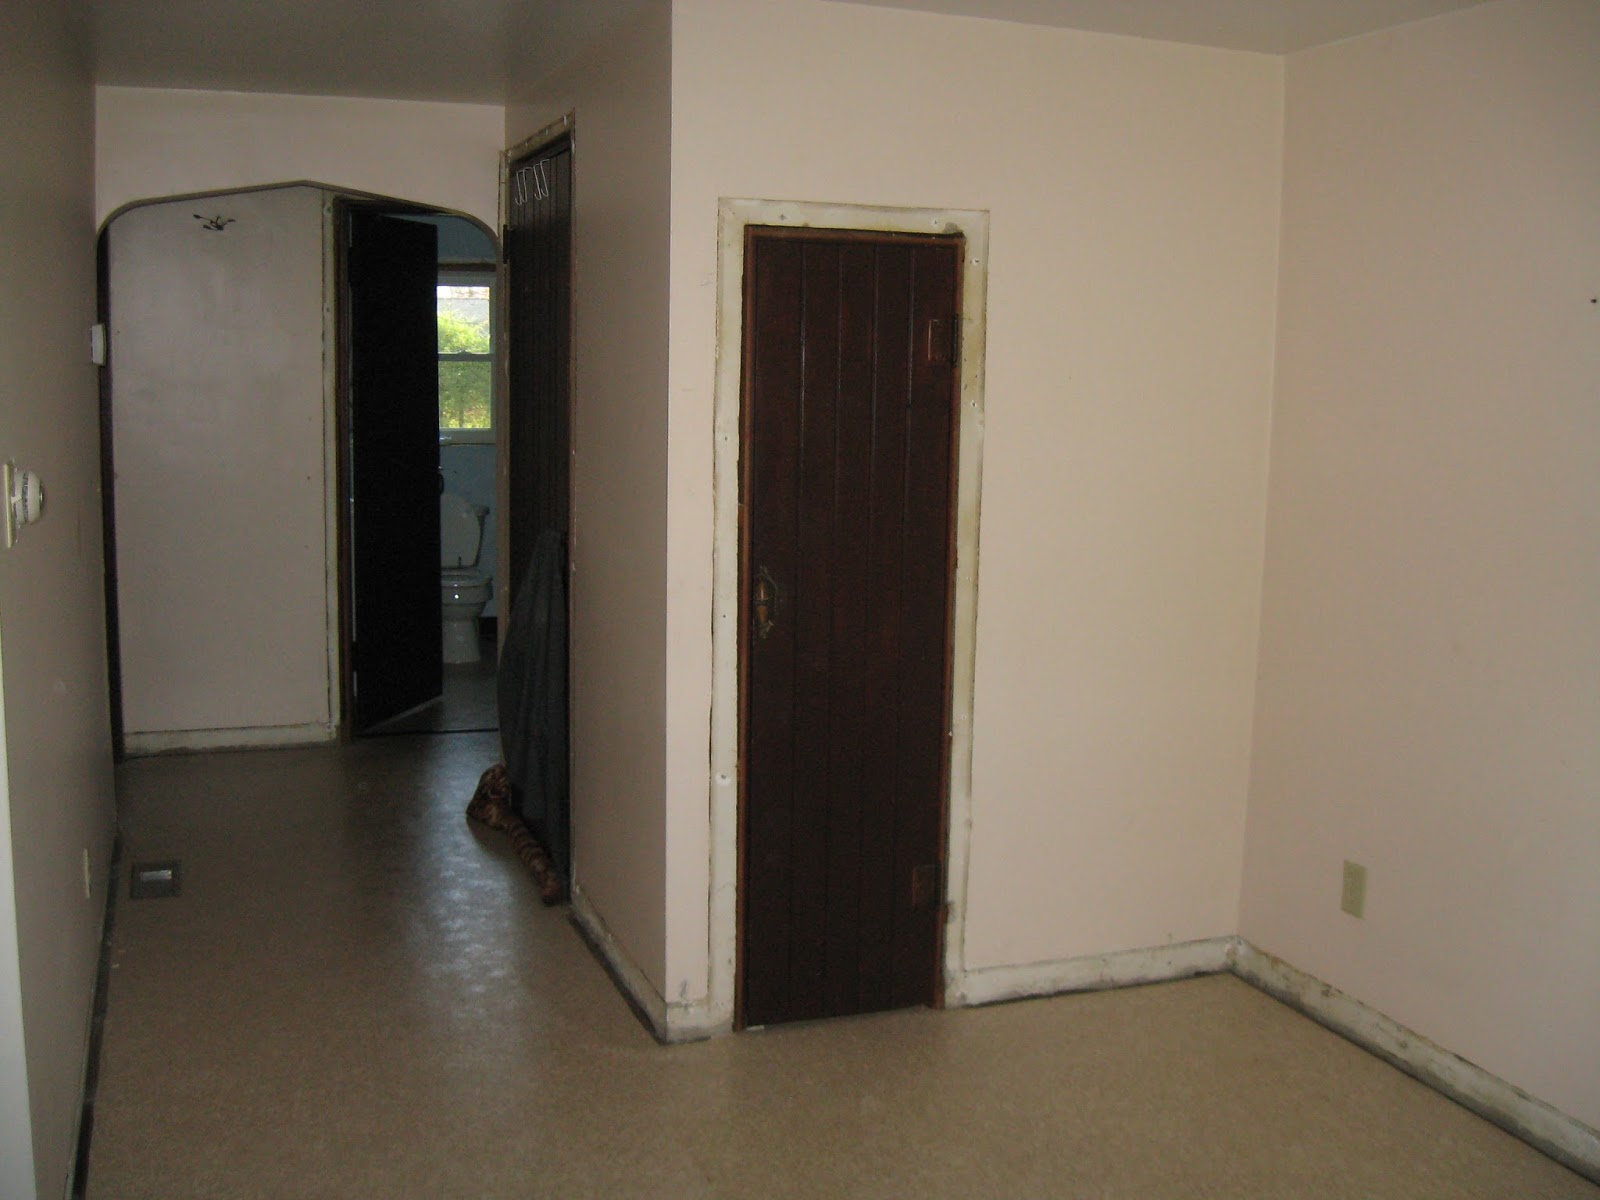
 BEFORE:
See the bathroom at the end of the hall?  

AFTER:
It now looks like this!

Goodbye brown door!  

Hello white sliding pocket door of wonder!


In other news, we met with a plasterer today.  OMG!  This is happening!  We still have lots to do to prepare for the plasterer... Like tape joints, install the corner bead and move 95% of our crap stuff out of the way (you know like shoving it in the basement and the upstairs).  We also need to take up the carpet and lay down some rosin paper cause ain't nobody got time to be scrubbin' plaster off the floors.

We've been working on some DIY plastering upstairs too ... oops there goes that "we" pronoun again.  The 2nd bathroom is plastered and I primed it today.  I will put up a separate blog post later in the week.  

Have a great day everyone!
Love and peace!

Friday, September 2, 2016

Living Room Tongue and Groove

I've been busy around the cottage priming tongue and groove boards for the living room ceiling.  Mr. Windmill is just about ready to install them!  Only one thing.... we live in the crooked house. 

This is the ceiling in it's current state.


To me it just looks like an unfinished ceiling, but it's REALLY unlevel.  If we try to screw the boards to the existing oak floor joists, our ceiling would make everyone sea sick due to all the waves and dips. So, Mr. Windmill has been leveling and shimming out all the floor joists to make a consistent ceiling.  An inch here a quarter inch there, ugh it's all so time consuming and tedious (so says the woman who isn't doing the work).


Here's a little glimpse of the shim process.

I know what you're thinking....  What's the difference?  It's still ugly unfinished!  But you can see each little block of wood nailed to the joists.  Each one is as unique as you and me, a different size and a different shape.


Once that work is done, 
my primed boards can go up. 


Did you see the wall on the right?  That is tongue and groove too!  It still needs to be primed.  
That's my next job.

I really fell in love with the shiplap look thanks to the hit TV show Fixer Upper.  I heart Joanna Gaines!  Mr. Windmill liked the look too but we didn't really care for the gaps that occur with shiplap.  You see, true shiplap has about an 1/8 inch gap between each board.  I was imaging all sorts of spiders and stink bugs taking up room and board between those gaps. So we opted for tongue and groove instead.  

Step by step (or should I say board by board) we are getting closer to a finished house!  {squeal}

Bless you all!
xoxo